


It’s a common problem with hardwood flooring: as the wood begins to show age, it can look a bit dingy. Refinishing or even replacing hardwood flooring can be a big hassle (not to mention a big expense), so what do you do? Have you ever thought about painting your hardwood floors? Painting gives new life to old floors without going through the trouble, or the expense, of refinishing or replacing. Here is everything you need to know about painting hardwood floors.
Prepare Your Floor
The first thing you are going to want to do is prepare your floor for painting. To do this, you must first clear everything out of the room. Then you need to sand down the surface in order to remove stains or any polyurethane finish. 100 to 150-grit sandpaper will get the job done nicely. Sanding also serves the purpose of roughing the wood up enough for the primer to adhere.
When you are done sanding, you are going to need to clean the room. Sweep up dust, vacuum, and wash the floor with a wood floor cleaner. You don’t want any debris in the way of painting. Make sure that you allow the floor enough time to dry before you get started on the next step.
Use a Primer
An oil-based primer, one that will penetrate the surface of the wood, or a latex primer is needed to seal the floor. The type of primer you choose should match the type of paint you have chosen. You can use a roller or a paint brush to apply it. Once finished, give the primer time to dry.
When the primer is completely dry, you will need to sand a second time. This is because some areas of wood might swell after being primed, and without this step, the imperfections will be seen no matter how many layers of paint you apply. Use a finer grit sandpaper and clean up the dust again. Avoid using any type of cleaning cloth that will leave behind fibers on the wood.
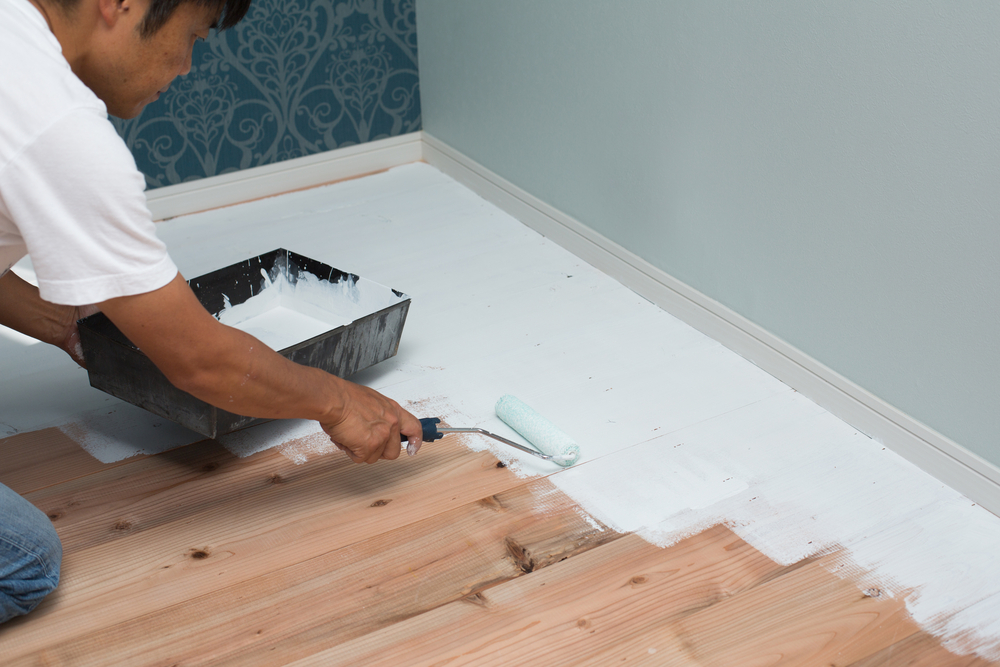
Time to Paint
Once the newly primed floor is sanded again and cleaned, it’s time to get painting. You can apply a single color, or use tape to create unique shapes or patterns. However you choose to paint your floors, make sure the layer is thin. This ensures that your paint will dry evenly and will cure properly. Wait for the first coat of color to dry and then apply a second.
Finishing the Floors
After the second coat of paint is completely dry, apply the top coat. Make sure you find paint that is free of VOCs to keep fumes to a minimum. You can do one or two layers, so long as you give the first layer a chance to dry before applying the second. A polyurethane top coat will help to provide a long-lasting result. Once your last layer is done, give the floor ample time to dry and cure. Stay off of it for at least a day (although the longer the floor has to cure, the better it will be), and then only walk on it barefoot or in socks. Paint can be chipped, scratched or ruined by debris dragged in on shoes or dented from heels. You should also check to see if your pets are in need of a pedicure to avoid damage from nails.
Painting your hardwood floors can breathe new life into them. Cant’ stand the look of your dingy floors but don’t want to bother with painting or refinishing them? Contact Windows Floors & Decor! Your local rep can help you find the right flooring to fit your budget.